Android Studio WebView Source Code With Basic Features
 By Faruque Ahamed Mollick
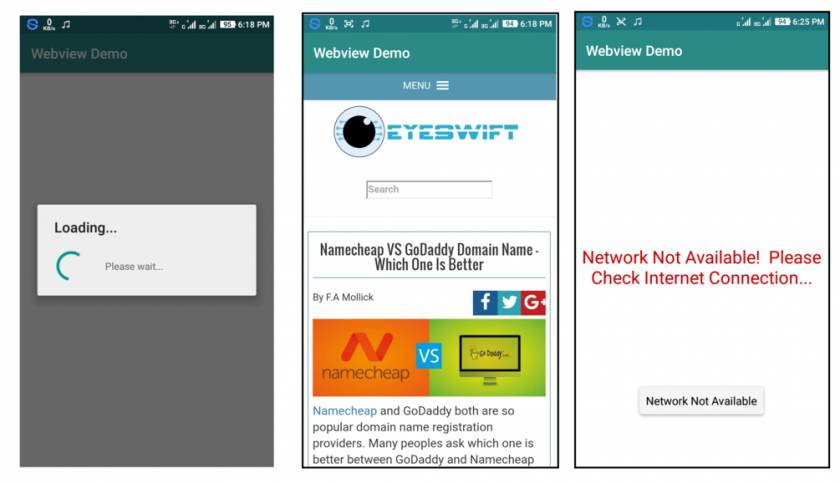
Here in this post I am going to write about a ready made source code of Android app. This is the source code which can be use to create a android app for a website or blog. This project is built with Android studio and available for just only $3 from here.
If you build your android app using this source code then you will get two features for in your WebView base android app. Here are these two features:
- During the starting of the app built with this source code you will see a loading dialog progress message until the website fully loaded. It is really good for visual than showing the blank screen.
- If there are no internet or network connection is available then this android app will show you the message – “Network Not Available! Please Check Internet Connection…”.
Android WebView Source Code With Basic Features – Android Studio Code
How to customize this WebView based Android app from source code:
To customize this app you need to import the project source code to Android Studio. From there you can modify, edit and customize the android app. Obviously you need to do some changes so that you can use this app. Here are some basic things with solution that you need to do after you open the source code from Android Studio:
Replacing the site URL:
In default the site URL for the WebView app is https://www.eyeswift.com. You can change it from Android Studio. To replace it with your own website or blog just open the main Java file “MainActivity.java” and on there find https://www.eyeswift.com by searching text. You can search text by pressing CTRL+F. A search box will appear after you do that. Just put https://www.eyeswift.com and then replace the “https://www.eyeswift.com” into your own website.
Change the app icon/logo:
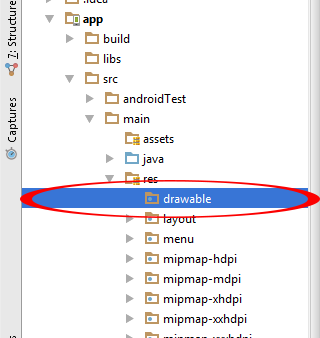
- Open the project source code and select drawable folder under app->src->res->drawable

- Copy your own designed application icon into drawable folder. Please upload a PNG image file as icon.
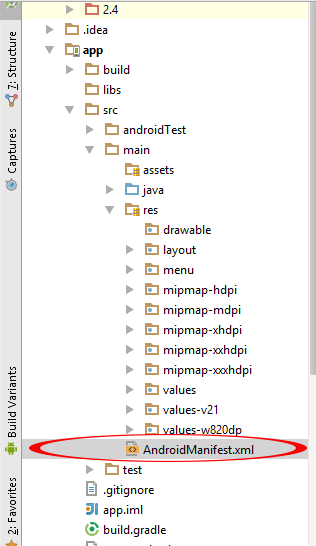
- Open AndroidManifest.xml file. In the below image you can see where it located:

- Fine this line ” android:icon=”@mipmap/ic_launcher ” in AndroidManifest.xml file.
- Replace above line from ” android:icon=”@drawable/your_icon_name “ . In this line your_icon_name represents your copied icon name which you have already copy inside drawable folder and after done this compile and run your project and here you go now your application icon is successfully changed.
Change app status bar color to match your website:
You can change all these colors from the given directory that you can see in the image below: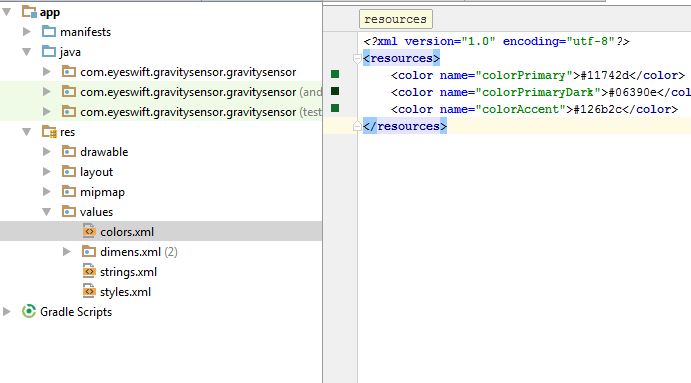
So what you think? Would you like to download all the source code. Download all the source code now!
Leave a Reply